Making Wire Nails: A Complete Step-By-Step Guide
In this article, we will learn what wire nails are and how to use a nail making machine to make them. Wire nails are an unusual but very popular type of nail. They are also called “common nails,” because they resemble the scissors in your toolbox. In order to make wire nails, you will need a nail making machine that can shape the wire into nails.
What is Wire Nails?
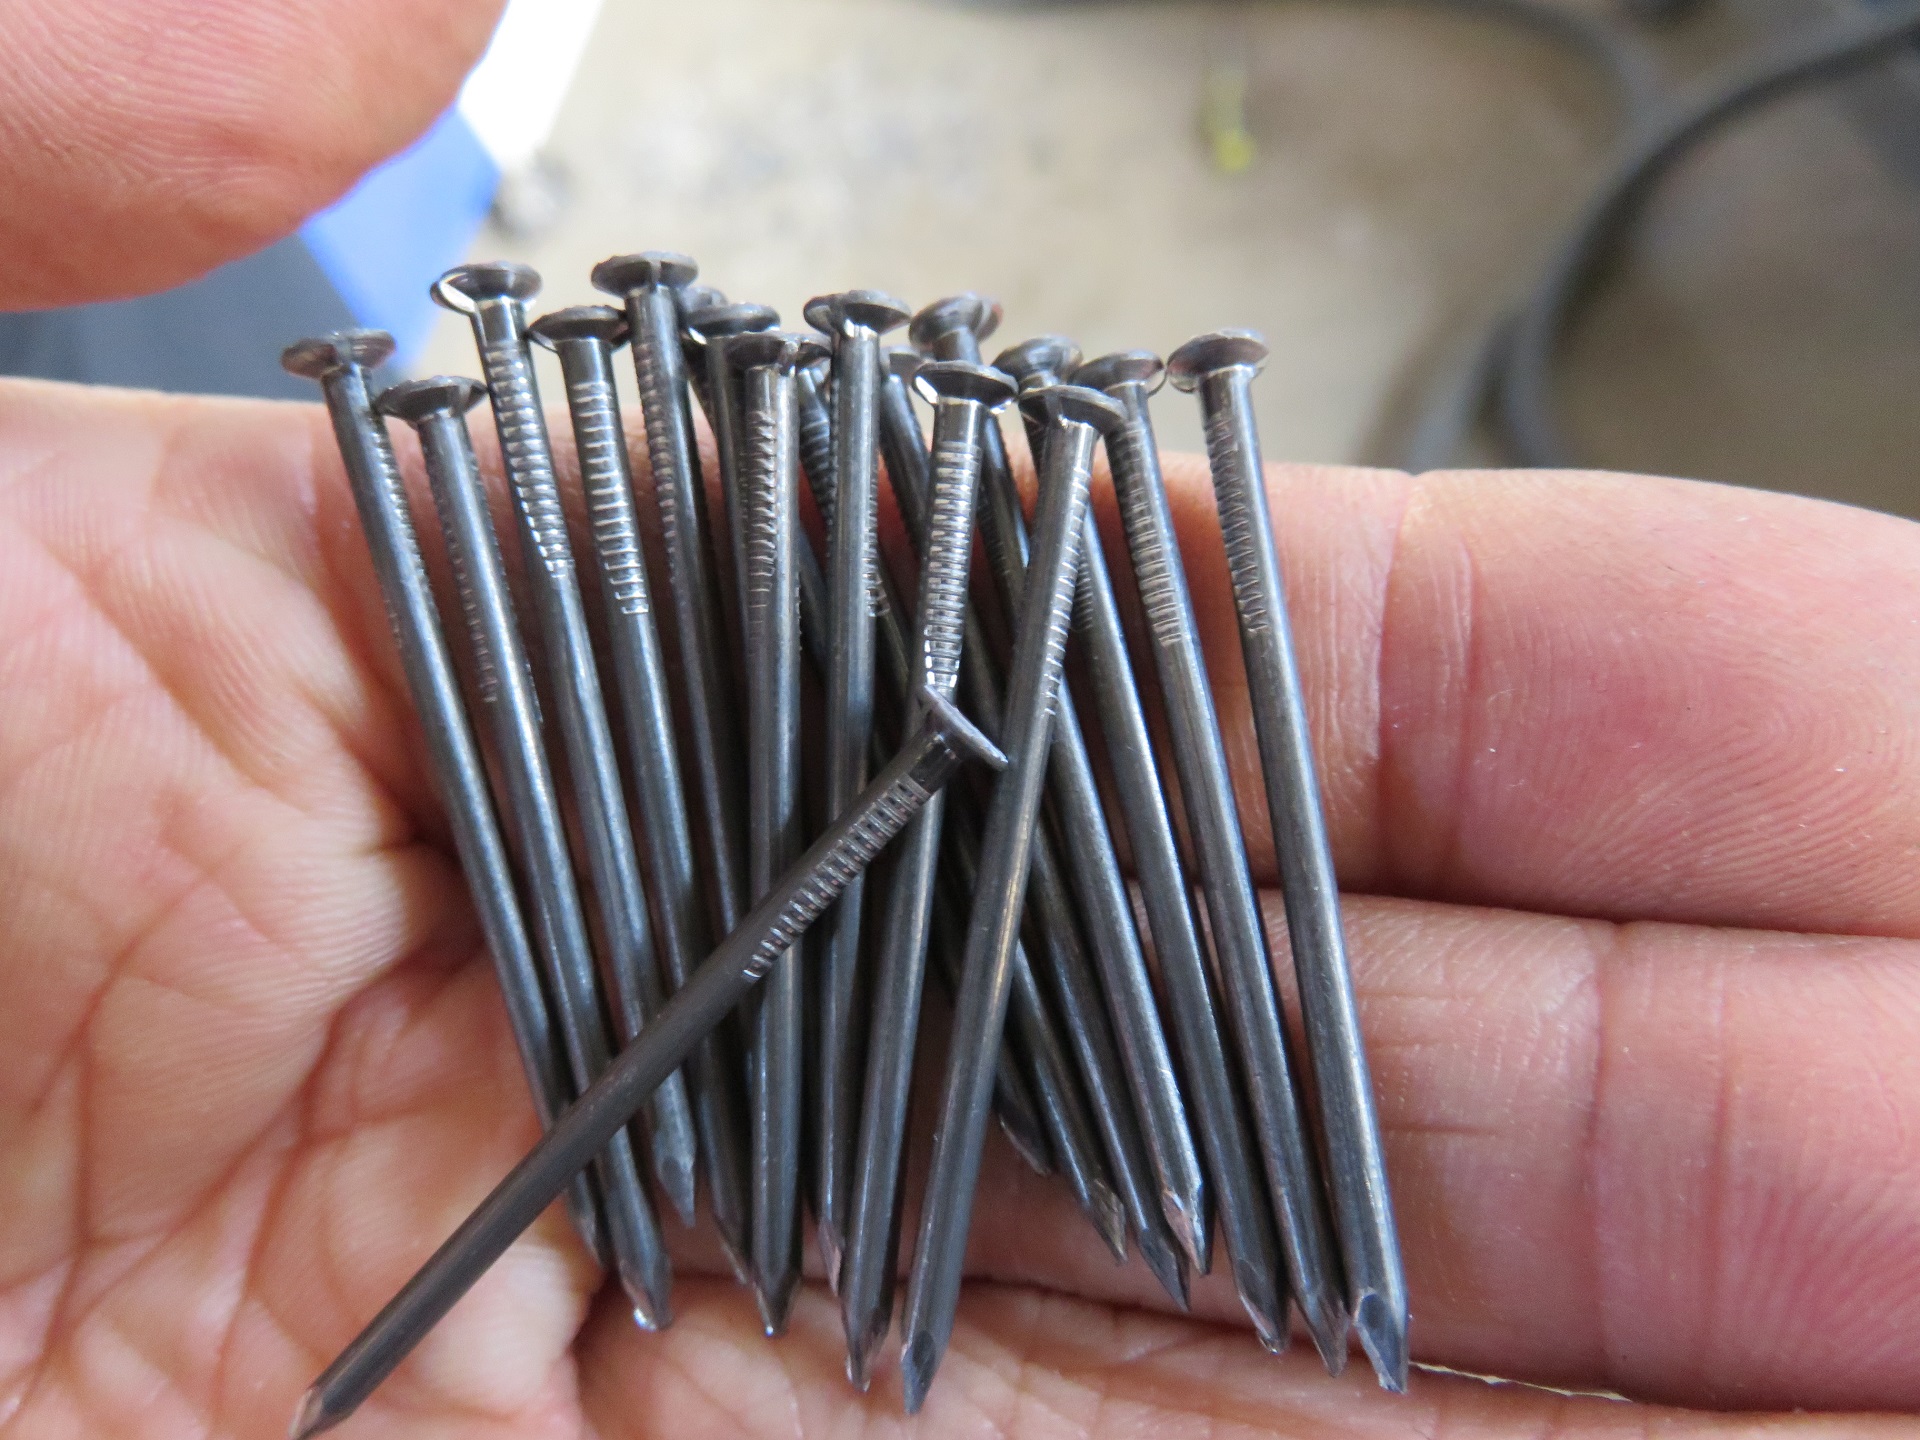
Wire nails are one of the most popular types of fasteners used in woodworking and construction. They are easy to use and come in a variety of sizes to fit any job. Wire nails are made from a steel wire that is coiled and then cut to length. The head of the nail is formed by hammering the end of the wire into a point.
Wire nails have a number of advantages over other types of nails. They are less likely to split the wood they are being driven into, and they can be easily removed if necessary. Wire nails are also less likely to rust than other types of nails, making them ideal for outdoor projects.
If you’re looking for a complete guide on how to make wire nails, look no further! This step-by-step guide will show you everything you need to know, from start to finish.
DIY Wire Nails
Making your own wire nails is a fun and easy project that anyone can do. With a few simple supplies and some basic instructions, you can make your own wire nails in no time. This step-by-step guide will show you everything you need to know to make your own wire nails, from start to finish. So, let’s get started!
Making Your Own Nail Making Machine
Making your own common nails is a great way to save money and get exactly the nails you need for your project. This step-by-step guide will show you how to make a wire nail so you can get started right away.
1. Gather Your Materials Steel Wire
To get started, you’ll need a few supplies. You’ll need some steel wire, a power drill, a jig saw, and some basic hand tools. Once you have everything you need, you’re ready to get started.
2. Cut the Wire
The first step is to cut the wire into pieces that are the right size for your nails. You’ll need to measure the pieces carefully so they’re all the same length. Use a jig saw to make clean, straight cuts
3. Drill Holes in the Wire
Next, you’ll need to drill holes in the wire. This will be where the nails will go. Drill the holes slightly smaller than the nails so they fit snugly. Be careful not to make the holes too big or the nails will be loose and fall out. the nail diameter can be from 2-6 mm and nail length 1-6 inch.
4. Assemble the Nail Making Machine
Now it’s time to put everything together and start.
Packing for the wire nails, into cartons or bags. 25kg/bag.
Step-By-Step Instructions for Making Wire Nails
Looking for a fun and easy DIY project? Why not try your hand at making wire nails! This step-by-step guide will show you everything you need to know to get started.
How to Make Bright Wire Nails
If you’re looking for a quick and easy way to add some extra flair to your nails, wire nails are the perfect solution! They’re simple to make and only require a few materials that you probably already have around the house. Plus, they look great with any outfit!
Here’s what you’ll need:
– Q195 steel wire raw material
– Nail wire
– Nail Making Machine
– Wire Drawing Machine
– Nail polish drum (optional)
First, cut a piece of steelwire to the desired length,Next, use the nail file to smooth out any sharp edges. Then, using the wire cutters, create a small loop at one end of the wire.
Now it’s time to attach the wire nail to your natural nail. Start by applying a small amount of super glue to the base of your nail. Then, carefully press the wire onto the glue. Hold it in place for a few seconds to allow the glue to set.
If you want, you can now paint your new nail with a coat of nail polish. This step is completely optional, but it will help protect the wire from tarnishing.
That’s it! You’ve now created your own set of wire nails.